Finalize The Template GDB
Database default values and feature templates are optional but can make the template gdb easier to use. Whether they are applicable depends on individual maps and preferences.
Database Default Values
Database default values are set at the feature class level for specific fields. Once you set a default, all features will use that value initially, though mappers can change the value.
Setting a default value is helpful when most features will use the same value for a required field but for which you may still need some flexibility to make changes.
Some example situations include:
- PlotAtScale for point feature classes and MapUnitLines; if most features will be drawn with the same PlotAtScale rules
- IdentityConfidence for MapUnit feature classes; could be set to certain if most MapUnits will be certain. Then, change individual MapUnits to questionable as applicable.
- OrientationConfidenceDegrees for OrientationPoints; if most data points have the same confidence.
- DataSourceID or equivalent fields; if most features are derived from the same data source
To set a default value, follow the steps below, which sets a default:
- DataSourceID of
this studyin ContactsAndFaults. - MethodID of
Compiled from sources cited in DataSources field.
This could be applicable for a database documenting mostly new mapping.
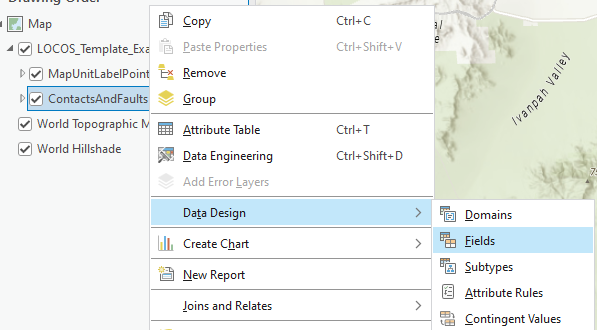
In the Catalog Pane or Catalog View, navigate to the feature class for which you want to set a default value.
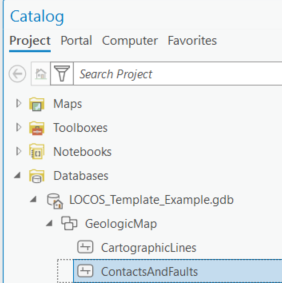
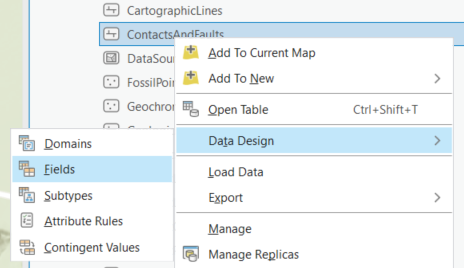
Right-click the feature class, hover over Data Design and click Fields.
In the newly opened Fields table, enter any needed Default values

In the Ribbon, click Save.
Feature Templates
Feature templates can help by:
- Prompting entries for required fields during feature creation.(1)
- Setting feature specific default values.
- Designating favorite feature templates to make extensive symbol domains more manageable.
- Attribute rules will prevent you from creating features if required fields are blank during feature creation.
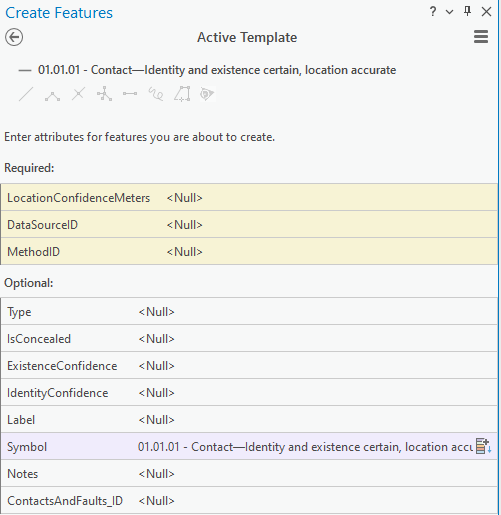
Displaying Required Fields
Displaying required fields in feature templates makes them visible and easily editable during feature creation:
This can be helpful in the following situations:
- For required fields that are never automatically populated such as DataSourceID and MethodID.
- For required fields that may or may not be automatically popuplated depending on template setup options, such as LocationConfidenceMeters, ExistenceConfidence, and IdentityConfidence.
- For fields with default values that may need to be changed during feature creation, such as IdentityConfidence for MapUnit feature classes, which may default to
certainbut may need to be changed toquestionablefor select feautres.
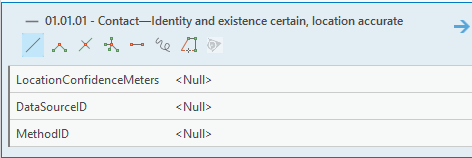
The example shown below will have LocationConfidenceMeters, DataSourceID, and MethodID displayed for ContactsAndFaults feature templates.
Before proceeding, add applicable feature classes to a map in an ArcGIS Pro project and symbolize them by the Symbol field.
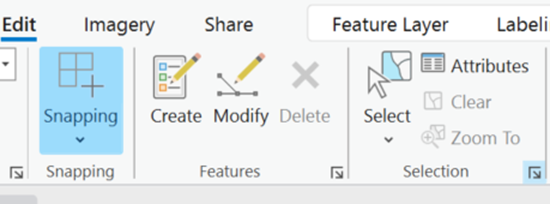
On the Ribbon, click Edit. Then, in the Features Group, click the  icon.
icon.
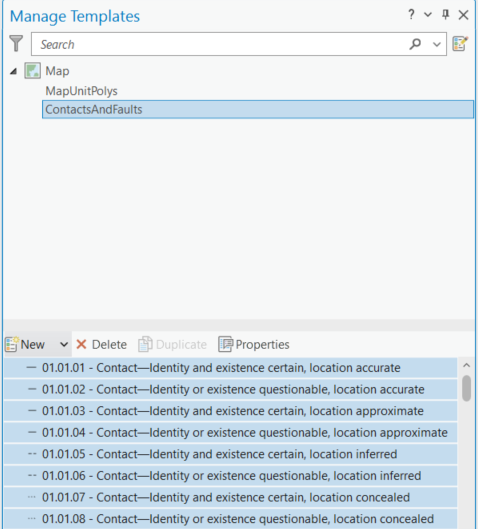
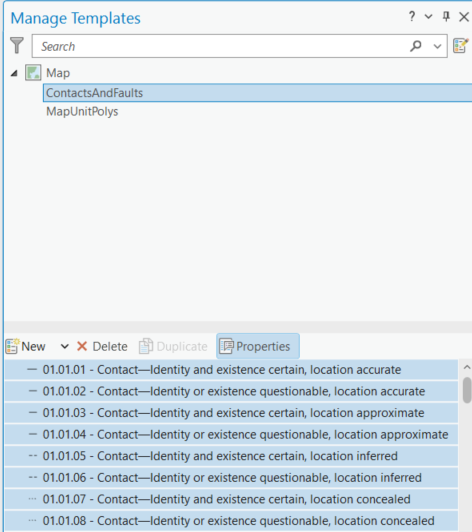
In the Manage Templates pane, select a feature class. Hold Ctrl on the keyboard and click on individual templates to select multiple items at once. Alternatively, hold Shift and click and drag to select consecutive items.
Once you have selected some Feature Templates, click .
.
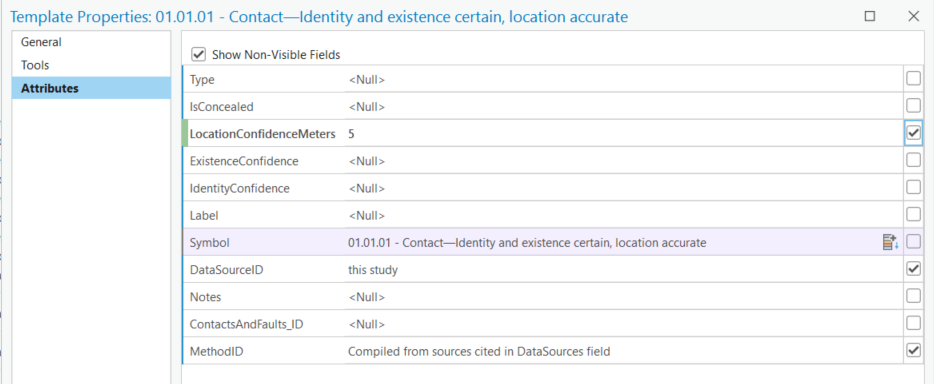
In the Template Properties Pop-up Window, click Attributes.
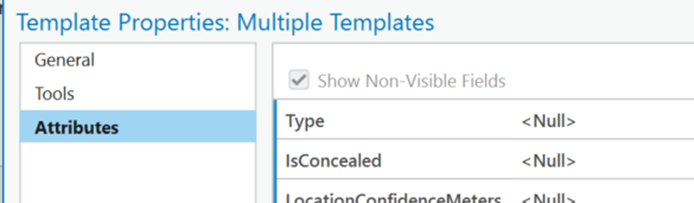
Check off any checkboxes next to the attributes you would like to view while creating features. In this example, LocationConfidenceMeters, DataSourceID, and MethodID are selected since they are required and not automatically populated.

Click Ok.
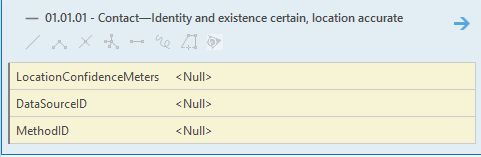
Highlighting Required Fields
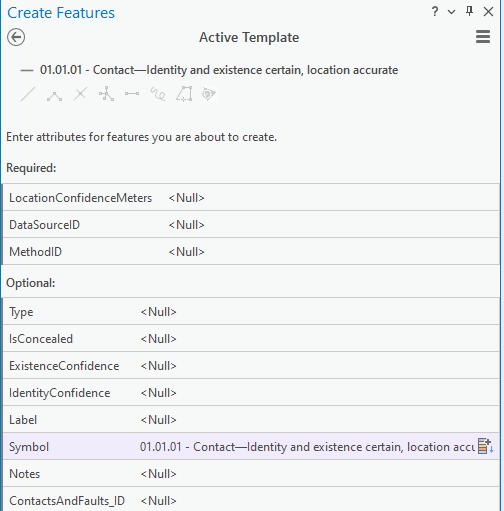
Another way to draw attention to required fields is via highlighting. This highlights designated fields yellow in the Create Features Pane:
Tip
Unlike displaying fields in feature templates, field highlighting applies to all features in a layer. It cannot be set for individual feature templates.
Field highlighting is a layer property, not a feature class property. Therefore, it is set in the Contents Pane. The example below sets highlighting for LocationConfidenceMeters, DataSourceID, and MethodID for ContactsAndFaults.
In the Contents Pane, right-click ContactsAndFaults, hover over Data Design, and click Fields.
In the Fields View for ContactsAndFaults, click the checkboxes for LocationConfidenceMeters, DataSourceID, and MethodID.
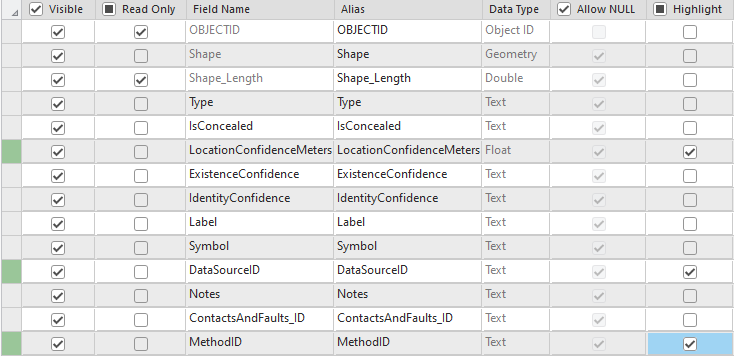
In the Ribbon, on the Fields tab, click Save.
Feature Template Default Values
Feature template default values allow you to set feature specific defaults. They provide more control over defaults than Database Default Values. Similar to database default values, you can change the value during feature creation.
The example below sets LocationConfidenceMeters for a location accurate contact.
This can be helpful if you know most location accurate symbols will use a value of 5, but some may use other values.This is the alternative to using more strict attribute rules as discussed in
Create the Template Workbook - LocationConfidenceMeters.
To set a feature template default value:
Repeat the steps in Displaying Required Fields, but select only one line type. Once you reach the Attributes setting in the Template Properties, set any applicable default values.
Tip
You can override a database default in a feature template by setting a different value in the Template Properties Attributes. This can be helpful if certain features will deviate from a database default.
Feature Template Favorites
Feature template favorites provide a view of selected feature templates in the Create Features Pane. It allows you to focus on the feature types you will use most frequently:
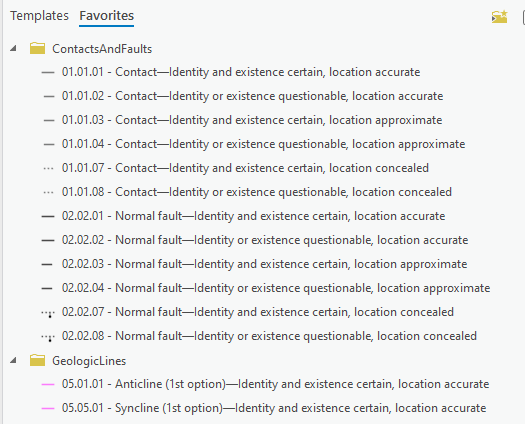
Refer to https://pro.arcgis.com/en/pro-app/latest/help/editing/organize-favorite-feature-templates.htm to set feature template favorites and organize them into folders.
Saving Feature Templates
Most feature template settings are saved within a map layer's properties and can be exported via a layer file. This allows you to share symbology and feature template settings between ArcGIS Pro maps and projects.
Warning
You cannot save feature template favorites to a layer file, they reside within a project.
To save a layer file, within the Contents Pane, right-click on a layer, hover over sharing, and click Save As Layer File
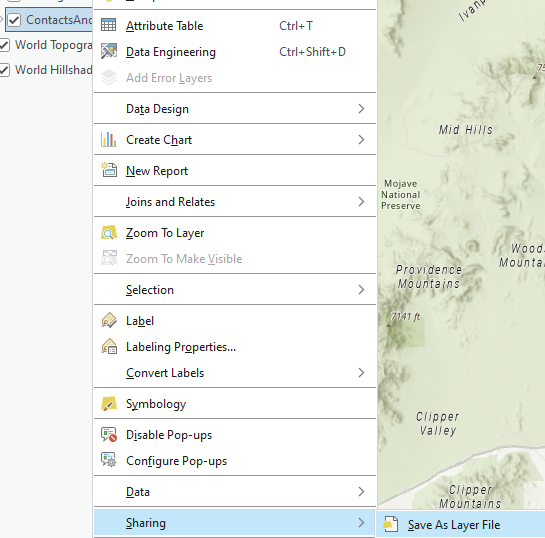
In the Save Layer File popup window, type a name, select a location, and click save.
You can now add the saved layer file to another map. You can also update the data source to another template database, provided it uses the same domain values.
Tip
You can also group layers together in the Contents Pane and then save the group layer as a layer file. This will save multiple layers at once into one layer file.